Why this chapter exists
Good labels reduce downtime because technicians do not spend hours guessing which ceiling cable or patch-panel port belongs to a user.
See the physical work before reading the details
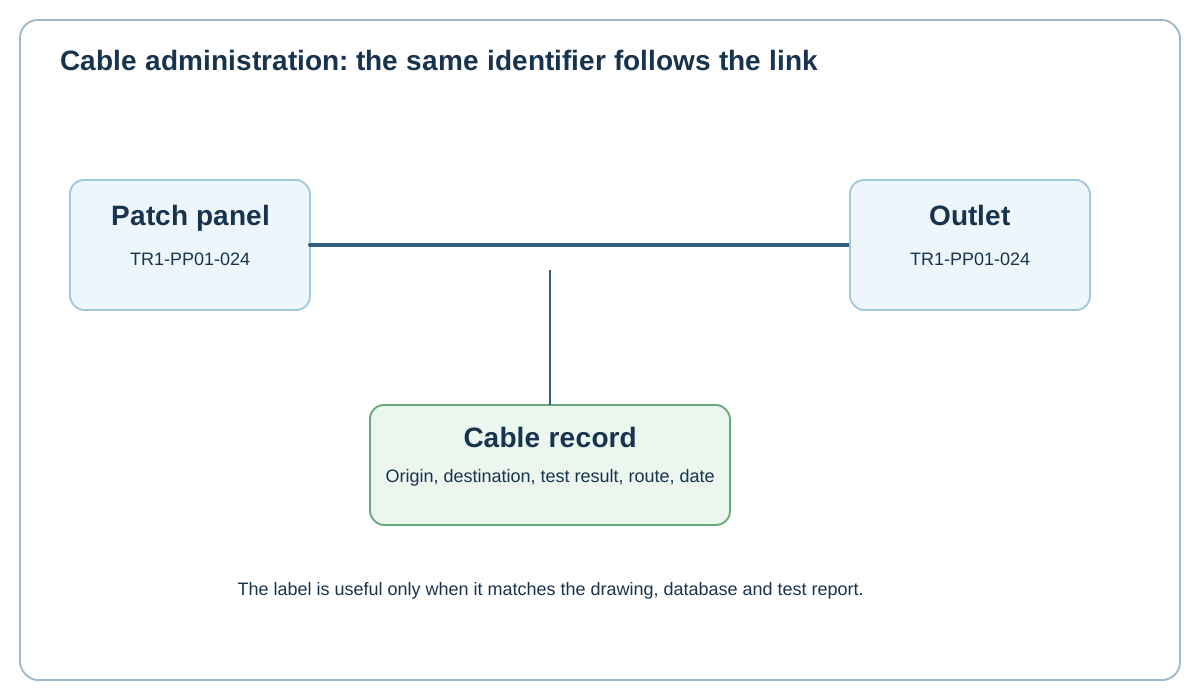
Original Netcomtech training illustration. Product-specific termination geometry varies, so use the component manufacturer's instruction sheet on site.
14.1 One identifier should follow the link
The cable identifier should appear at both ends and in the cable schedule, drawing and certification file. The exact naming scheme should match the project's administration standard.
Avoid handwritten mystery codes that only the original installer understands.
14.2 Label before bundles disappear
Apply temporary installation IDs during pulling, then final durable machine-printed labels during commissioning. The source books emphasize labeling both ends during the pull because large bundles become indistinguishable quickly.
14.3 Record more than the cable number
A useful record includes origin, destination, media/category, approximate route, panel/port, outlet, test result, installation date and notes about consolidation points or exceptions.
14.4 Manage changes
Moves, additions and changes should update the physical label, database/schedule and drawings together. If documentation lags physical work, trust in the entire system drops.
Workshop exercise
Build a sample of this installation method on a training bench. Photograph the preparation before termination, the finished termination and the test result. Explain what would cause you to reject your own work.
Acceptance checklist
- The component matches the cable construction and category.
- The manufacturer's installation method was followed.
- No conductor, jacket, screen or fibre damage is visible.
- Pair twist, bend radius and strain relief are preserved.
- The correct test model and limit were used.
- The cable ID matches the drawing and test report.
Technical references
Manufacturer instructions and the project standard always override generic training examples.