Why this chapter exists
A cable pulled too hard or crushed above a ceiling may fail certification after the ceiling is closed, making repair expensive.
See the physical work before reading the details
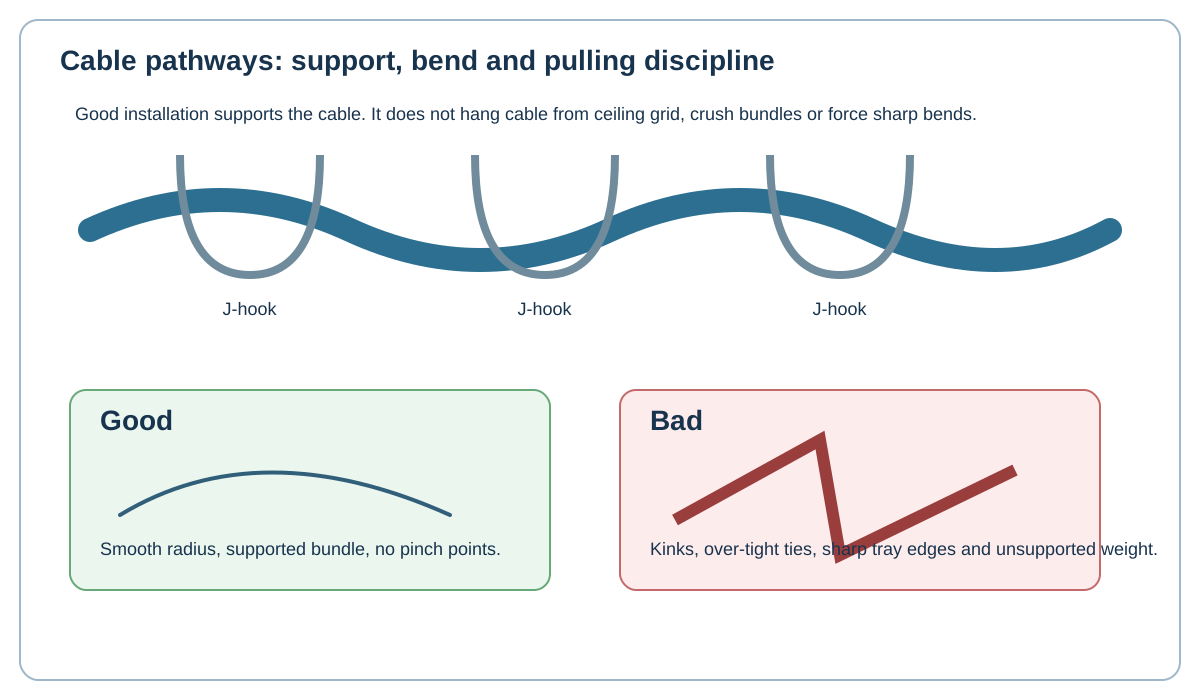
Original Netcomtech training illustration. Product-specific termination geometry varies, so use the component manufacturer's instruction sheet on site.
8.1 Survey the pathway before pulling
Walk the route. Identify tray, conduit, J-hooks, corners, penetrations, risers, access panels and congestion. Confirm the pathway is actually complete before opening cable boxes.
Check the cable manufacturer's bend-radius and pulling-tension limits. Older books provide example numbers, but the current cable datasheet is the authority.
8.2 Control reel payout
Pull cable from a reel or box in the direction it is designed to pay out. Do not allow coils to form and drag into knots. Multi-reel carts can make parallel pulls faster when controlled properly.
8.3 Support the cable independently
Use approved telecommunications supports such as tray or J-hooks. Do not use ceiling-grid wire, sprinkler pipe or unrelated services as cable supports.
Support should distribute load without pinching the bundle.
8.4 Conduit needs a pull plan
Check conduit fill, number of bends, pull boxes and spare capacity. Use approved cable lubricant only when appropriate for the cable jacket and pathway.
Fabric innerduct can reduce friction and reserve future pathways in some designs.
8.5 Do not over-tighten bundles
Hook-and-loop is commonly preferred for data bundles because it is adjustable and less likely to deform cable than a heavily tightened plastic tie. If plastic ties are permitted, tighten only enough to retain the bundle.
Workshop exercise
Build a sample of this installation method on a training bench. Photograph the preparation before termination, the finished termination and the test result. Explain what would cause you to reject your own work.
Acceptance checklist
- The component matches the cable construction and category.
- The manufacturer's installation method was followed.
- No conductor, jacket, screen or fibre damage is visible.
- Pair twist, bend radius and strain relief are preserved.
- The correct test model and limit were used.
- The cable ID matches the drawing and test report.
Technical references
Manufacturer instructions and the project standard always override generic training examples.